

Your Ultimate Guide to Setting Up Your Gaming Console in 2025
The year is 2025. You’ve just acquired the latest and greatest gaming console – perhaps it’s the console you’ve been waiting for, an upgrade, or your very first step into the immersive world of console gaming. The box sits before you, promising countless hours of adventure, competition, and entertainment. But before you can dive into those stunning virtual worlds, there’s a crucial first step: setting up your new machine.
While consoles are designed for ease of use, the initial setup involves more than just plugging in a few cables. From physical connections and network configuration to account setup, system updates, and optimizing your display, this guide will walk you through everything you need to know to get your 2025 gaming console up and running smoothly. Whether you have a PlayStation 5, an Xbox Series X/S, the potential successor to the Nintendo Switch, or any other console hitting the market, the fundamental principles remain similar. Let’s get started!
Step 1: The Unboxing Ritual & Finding the Perfect Spot
Opening a new console is an exciting moment! Carefully unseal the box and remove its contents. You should find:
-
- The console itself
- One or more controllers
- An HDMI cable (likely HDMI 2.1 in 2025 for high resolutions and refresh rates)
- A power cable
- A USB cable for charging the controller
- Quick start guides or manuals
Before you start plugging things in, choose a location for your console. This is more important than you might think. Consider the following:
-
- Ventilation: Consoles generate heat. Ensure the location has plenty of open space around the console – avoid enclosed cabinets or stacking things on top of it. Good airflow is crucial for performance and longevity.
- Stability: Place the console on a flat, stable surface where it won’t be easily knocked over.
- Proximity to Display: It needs to be close enough to your TV or monitor for the HDMI cable to reach comfortably without being stretched.
- Proximity to Power: Ensure there’s a power outlet nearby. Using a surge protector is highly recommended to protect your valuable electronics from power spikes.

- Proximity to Network: While Wi-Fi is an option, being close to your router for an Ethernet connection is ideal for the most stable online experience.
Step 2: Making the Physical Connections
Now, let’s connect everything.
- Power: Connect the power cable to the console and then to your power outlet or surge protector. Don’t turn it on yet.
- HDMI: Connect one end of the included HDMI cable to the HDMI OUT port on your console. Connect the other end to an available HDMI IN port on your TV or monitor. Note the HDMI port number on your TV (e.g., HDMI 1, HDMI 2). For optimal performance on modern consoles (like PS5/Xbox Series X and likely future models), use an HDMI 2.1 port on your display if available and if the console supports it – this is necessary for features like 4K resolution at 120Hz.
- Network (Optional but Recommended): For the most reliable online gaming and fastest downloads, connect an Ethernet cable from your router or network switch to the LAN port on the back of your console. If you plan to use Wi-Fi, you’ll configure this later during the software setup.
Step 3: Powering On and Initial Setup Screens
With the cables connected, it’s time for the magic moment.
- Turn on your TV/Monitor: Switch your display on and select the correct HDMI input source that your console is connected to (e.g., switch to HDMI 1).
- Turn on the Console: Press the power button on the console itself. The console’s logo should appear on your screen.
- Follow On-Screen Prompts: The console will guide you through the initial setup process. This typically includes:
- Selecting your language.
- Choosing your region and time zone.
- Accepting the terms of service and privacy policy (read them if you wish, but you’ll need to accept to proceed).
Step 4: Network Configuration (Wi-Fi or Ethernet)
Your console needs to connect to the internet for updates, digital games, online multiplayer, and more.
- If you used Ethernet: The console will likely detect the wired connection automatically. You might just need to confirm.
- If you are using Wi-Fi: Select the Wi-Fi setup option. The console will scan for available networks. Find your home network’s name (SSID) in the list, select it, and enter your Wi-Fi password. Ensure you have the correct password handy.
A wired connection (Ethernet) is generally preferred for gaming due to lower latency and a more stable connection, reducing lag and disconnections. However, Wi-Fi offers flexibility if your console isn’t near your router.
Step 5: Account Creation or Login
This is a critical step. Modern consoles require you to sign in to a platform-specific account:
- PlayStation Network (PSN) for PlayStation consoles
- Xbox Network (formerly Xbox Live) for Xbox consoles
- Nintendo Account for Nintendo consoles
You will be prompted to either sign in with an existing account or create a new one.
- New Account: If this is your first console on this platform, you’ll need to create a new account. This usually involves providing an email address, date of birth, creating a username (Gamertag, Online ID, etc.), and setting a password.
- Existing Account: If you’re upgrading or have used this platform before, sign in with your existing credentials. This is important as it gives you access to your previously purchased digital games, saved data (if cloud saves were used), friends list, and achievements/trophies.
Security Tip: Use a strong, unique password for your gaming account and enable Two-Factor Authentication (2FA) if the platform offers it (which they all should by 2025). This significantly protects your account from unauthorized access.
Step 6: The All-Important System Updates
Once connected to the internet and logged into your account, the console will almost certainly detect that system software updates are available. Do not skip this step. System updates are crucial for:
- System stability and performance improvements
- Adding new features
- Enhancing security
- Ensuring compatibility with the latest games and accessories
System updates can sometimes take a while, depending on your internet speed and the size of the update. Be patient and do not turn off the console during an update process. Let it complete fully. The console may restart multiple times.
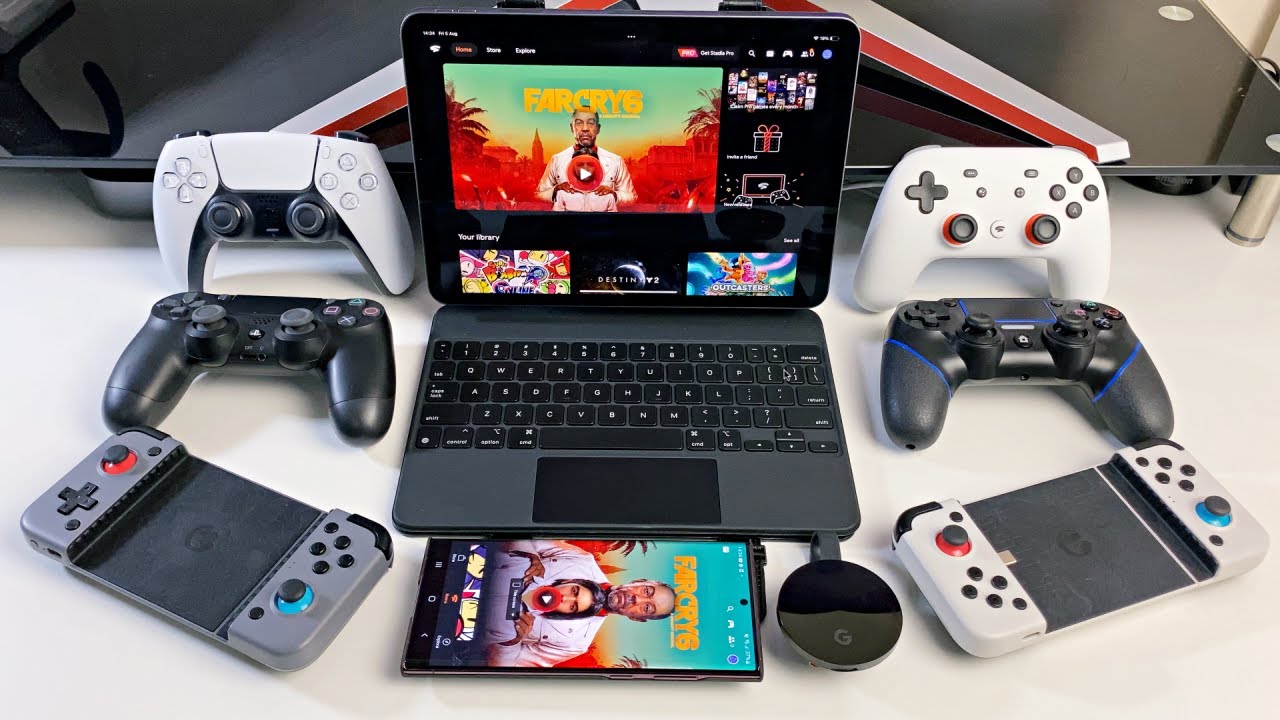
Step 7: Controller Setup and Pairing
Your controller might need to be paired with the console. Usually, you connect the controller to the console using the included USB cable for the first time. This pairs it and also charges the controller’s internal battery. Once paired, you can typically disconnect the cable for wireless use.
Ensure your controller is charged before a gaming session! Modern controllers often have built-in rechargeable batteries.
Step 8: Getting Your Games Ready
With the console set up, it’s time for games!
- Physical Games: If you have a disc drive console, insert a game disc. The console will likely need to install the game data to the internal storage. This process can take time.
- Digital Games: Access the console’s digital store (PlayStation Store, Microsoft Store, Nintendo eShop). You can browse and purchase games, or find games you already own in your library. Select a game to download and install it. Digital game downloads can be large and take a significant amount of time depending on your internet speed. You can often play other things or leave the console in a low-power rest mode while downloads complete.
Storage Consideration: Modern games are huge. The internal storage on your console might fill up faster than you expect. Plan for storage expansion, which often involves connecting a compatible external hard drive or SSD, or installing an internal expansion SSD (check your console’s specific requirements).
Step 9: Optimizing Your Display and Audio Settings
To get the best visual and audio experience, dive into the console’s settings menu after the initial setup.
- Display/Screen Settings:
- Resolution: Ensure the console is set to output at the native resolution of your TV/monitor (e.g., 1080p, 4K).
- HDR: If your display supports High Dynamic Range, make sure HDR is enabled in the console settings. This provides better contrast and colors in supported games.
- Refresh Rate: If your display supports 120Hz and your console is capable, ensure the setting is enabled for smoother motion in games that support higher frame rates.
- Calibration: Some consoles offer calibration tools or settings to match your display.
- Audio Settings:
- Configure surround sound if you have a compatible audio system.
- Set up headset audio options.
- Adjust volume levels.
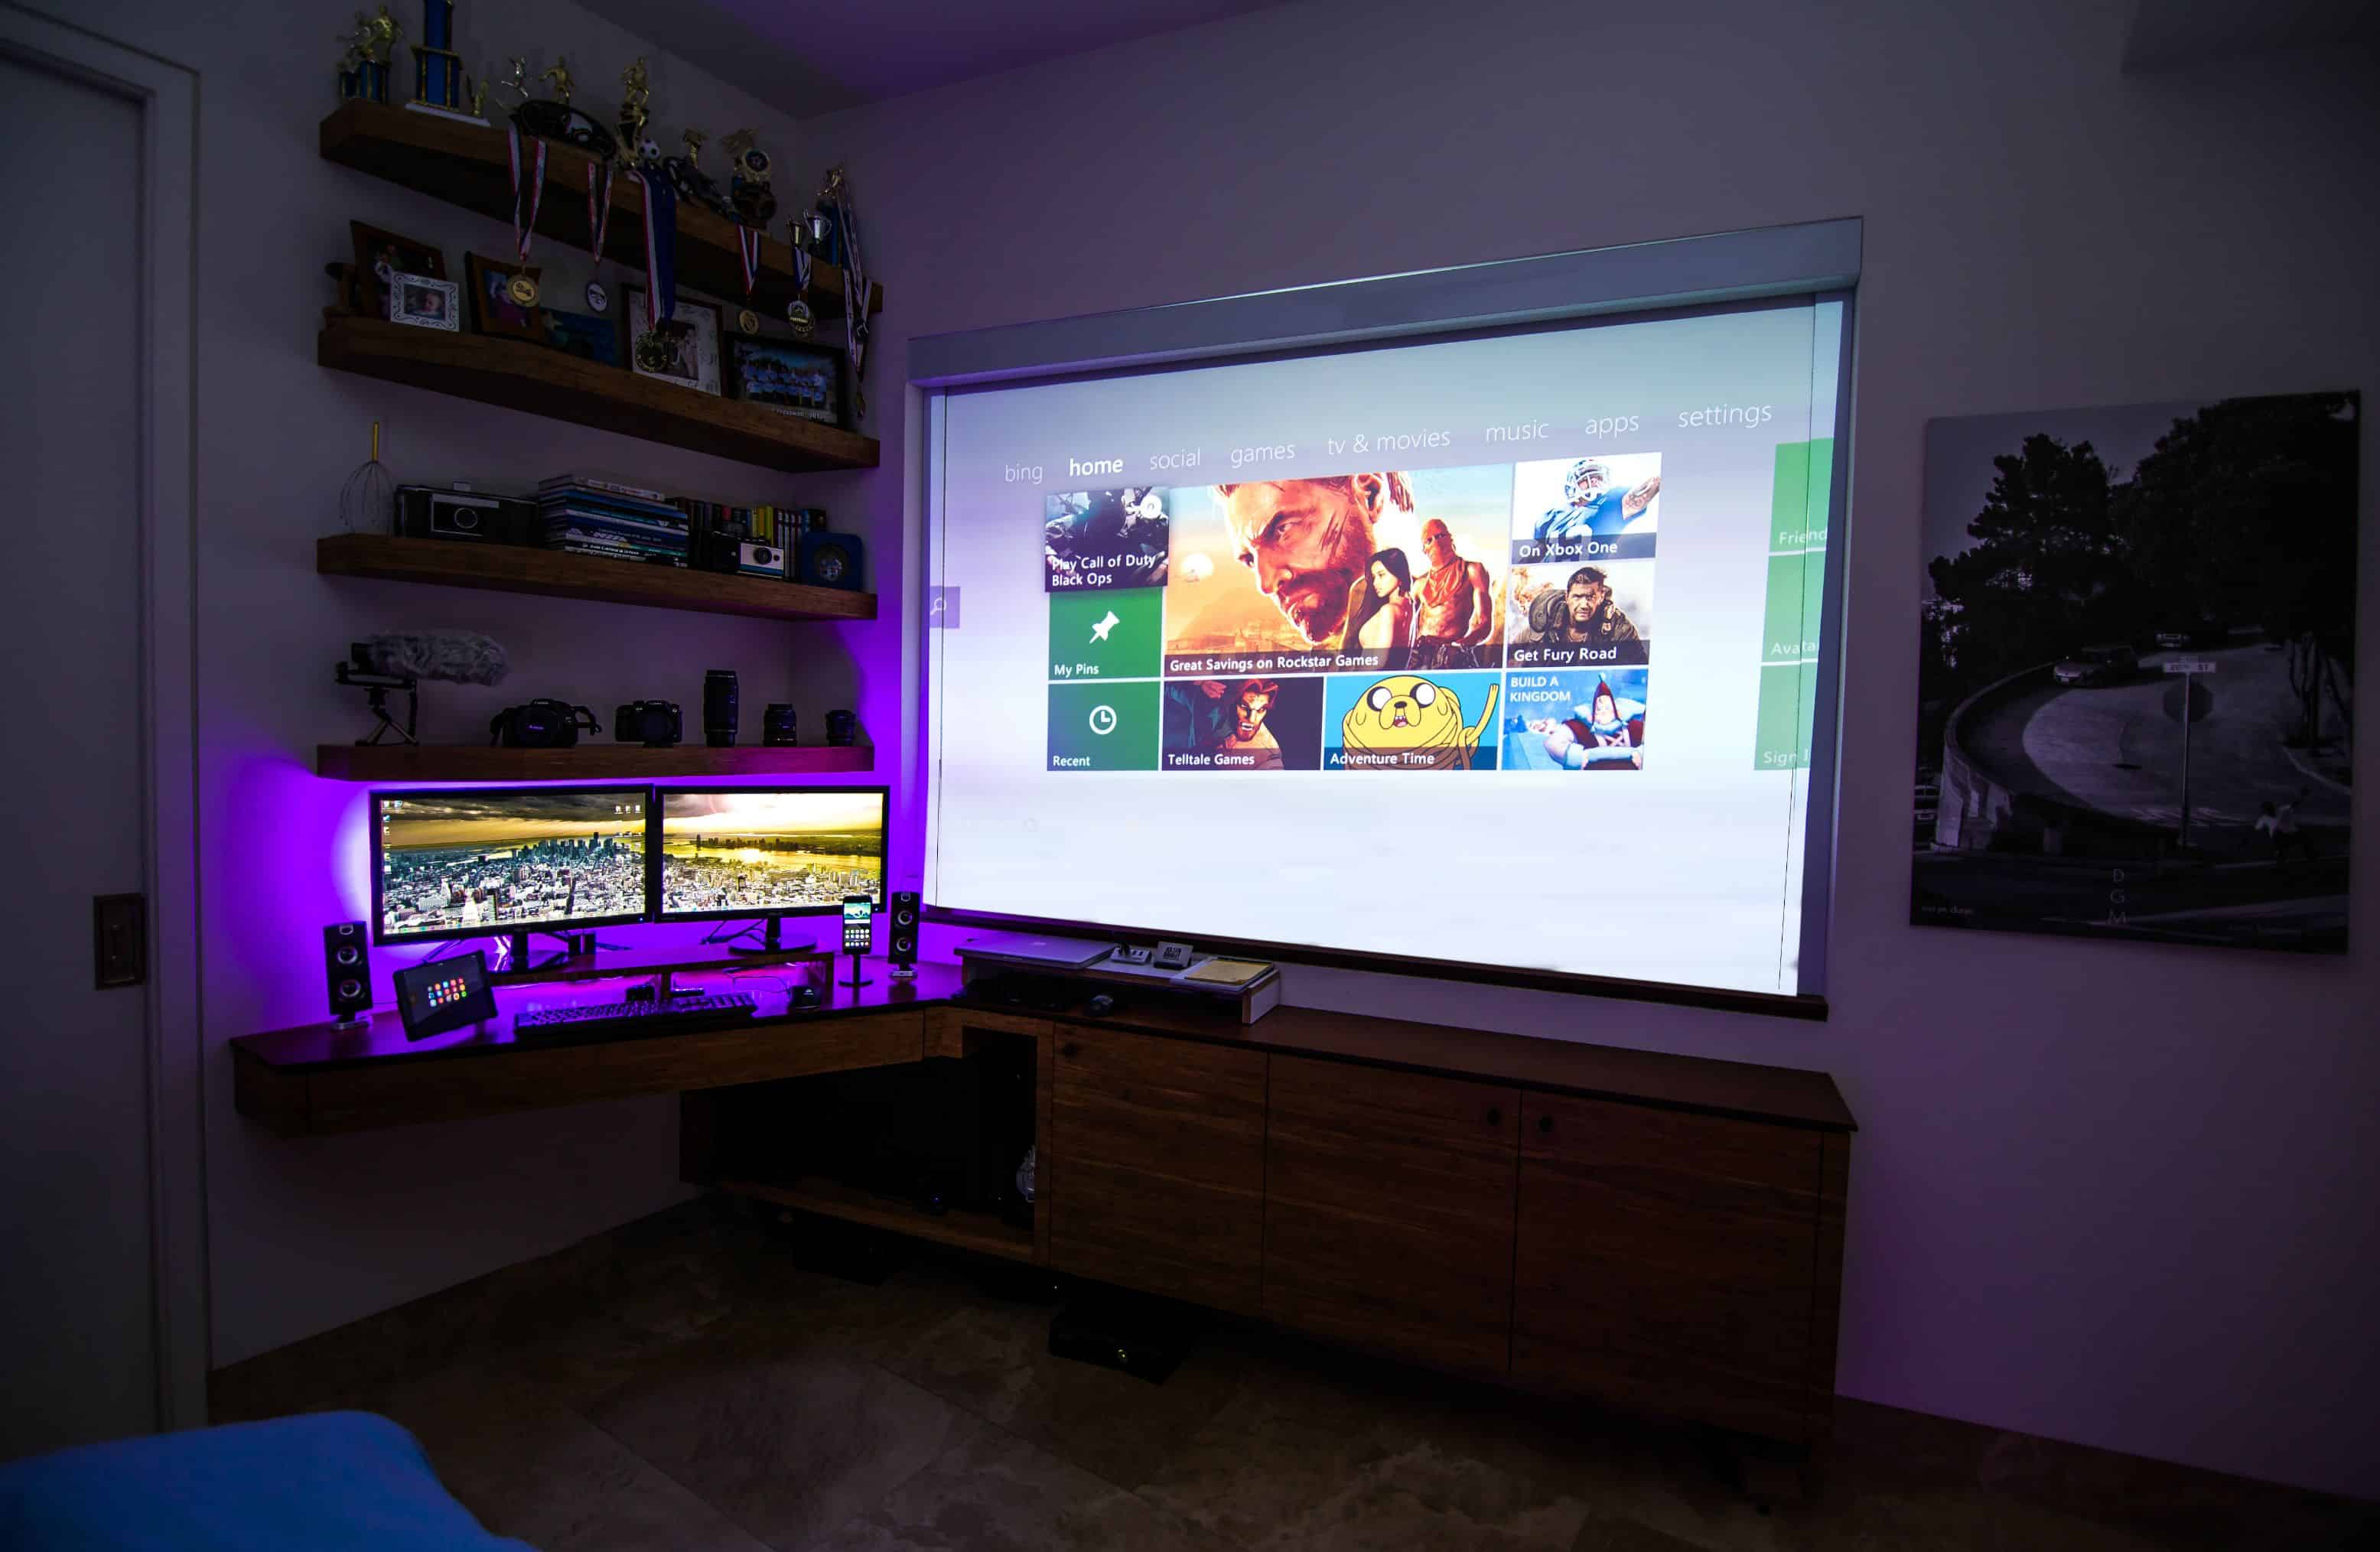
Step 10: Placement, Maintenance, and Safety
- Ventilation (Again!): Cannot stress this enough. Ensure the console has room to breathe. Overheating can damage the hardware.
- Dust: Dust is a console’s enemy. Keep the area around the console clean. Periodically and gently clean the console’s exterior vents using compressed air (short bursts from a distance) or a soft brush, while the console is off and unplugged.
- Liquids: Keep drinks and other liquids far away from the console.
- Power: Always use a surge protector. When not in use for extended periods, consider unplugging the console during electrical storms.
Step 11: Exploring Features and Accessories
Once the core setup is done, take some time to explore your console’s dashboard. Familiarize yourself with the store, your game library, social features (adding friends, parties), media apps (Netflix, YouTube, etc.), and accessibility options.
Consider essential accessories:
- An extra controller
- A charging station for controllers
- A good gaming headset
- Storage expansion (as mentioned before)
Troubleshooting Basic Issues
If you encounter problems during setup:
- No Picture: Double-check the HDMI cable connection at both


